Ray Casting
The RaycastingScene class in Open3D provides basic ray casting functionality. In this tutorial we show how to create a scene and do ray intersection tests. You can also use RaycastingScene to create a virtual point cloud from a mesh, such as from a CAD model.
Initialization
As the first step we initialize a RaycastingScene with one or more triangle meshes.
[2]:
# Load mesh and convert to open3d.t.geometry.TriangleMesh
cube = o3d.geometry.TriangleMesh.create_box().translate([0, 0, 0])
cube = o3d.t.geometry.TriangleMesh.from_legacy(cube)
[3]:
# Create a scene and add the triangle mesh
scene = o3d.t.geometry.RaycastingScene()
cube_id = scene.add_triangles(cube)
add_triangles() returns the ID for the added geometry. This ID can be used to identify which mesh is hit by a ray.
[4]:
print(cube_id)
0
Casting rays
We can now generate rays which are 6D vectors with origin and direction.
[5]:
# We create two rays:
# The first ray starts at (0.5,0.5,10) and has direction (0,0,-1).
# The second ray start at (-1,-1,-1) and has direction (0,0,-1).
rays = o3d.core.Tensor([[0.5, 0.5, 10, 0, 0, -1], [-1, -1, -1, 0, 0, -1]],
                       dtype=o3d.core.Dtype.Float32)

ans = scene.cast_rays(rays)
The result contains information about a possible intersection with the geometry in the scene.
[6]:
print(ans.keys())
dict_keys(['primitive_uvs', 'primitive_ids', 'geometry_ids', 'primitive_normals', 't_hit'])
t_hit is the distance to the intersection. The unit is defined by the length of the ray direction. If there is no intersection this is inf
geometry_ids gives the id of the geometry hit by the ray. If no geometry was hit this is
RaycastingScene.INVALID_IDprimitive_ids is the triangle index of the triangle that was hit or
RaycastingScene.INVALID_IDprimitive_uvs is the barycentric coordinates of the intersection point within the triangle.
primitive_normals is the normal of the hit triangle.
We can see from t_hit and geometry_ids that the first ray did hit the mesh but the second ray missed.
[7]:
print(ans['t_hit'].numpy(), ans['geometry_ids'].numpy())
[8.999999 inf] [ 0 4294967295]
Creating images
We now create a scene with multiple objects
[8]:
# Create meshes and convert to open3d.t.geometry.TriangleMesh
cube = o3d.geometry.TriangleMesh.create_box().translate([0, 0, 0])
cube = o3d.t.geometry.TriangleMesh.from_legacy(cube)
torus = o3d.geometry.TriangleMesh.create_torus().translate([0, 0, 2])
torus = o3d.t.geometry.TriangleMesh.from_legacy(torus)
sphere = o3d.geometry.TriangleMesh.create_sphere(radius=0.5).translate(
    [1, 2, 3])
sphere = o3d.t.geometry.TriangleMesh.from_legacy(sphere)

scene = o3d.t.geometry.RaycastingScene()
scene.add_triangles(cube)
scene.add_triangles(torus)
_ = scene.add_triangles(sphere)
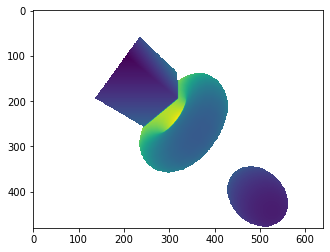
RaycastingScene allows to organize rays with an arbitrary number of leading dimensions. For instance we can generate an array with shape [h,w,6] to organize rays for creating an image. The class also provides helper functions for creating rays for a pinhole camera. The following creates rays Tensor with shape [480,640,6].
[9]:
rays = o3d.t.geometry.RaycastingScene.create_rays_pinhole(
    fov_deg=90,
    center=[0, 0, 2],
    eye=[2, 3, 0],
    up=[0, 1, 0],
    width_px=640,
    height_px=480,
)
# We can directly pass the rays tensor to the cast_rays function.
ans = scene.cast_rays(rays)
The output tensors preserve the shape of the rays and we can directly visualize the hit distance with matplotlib to get a depth map.
[10]:
import matplotlib.pyplot as plt
plt.imshow(ans['t_hit'].numpy())
[10]:
<matplotlib.image.AxesImage at 0x7ff6d05fa2b0>

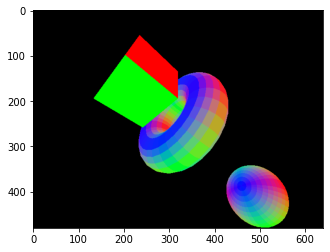
Furhter we can plot the other results to visualize the primitive normals, ..
[11]:
# use abs to avoid negative values
plt.imshow(np.abs(ans['primitive_normals'].numpy()))
[11]:
<matplotlib.image.AxesImage at 0x7ff6d016f860>

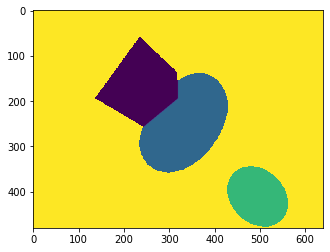
[12]:
plt.imshow(ans['geometry_ids'].numpy(), vmax=3)
[12]:
<matplotlib.image.AxesImage at 0x7ff6d0520748>

Creating a virtual point cloud
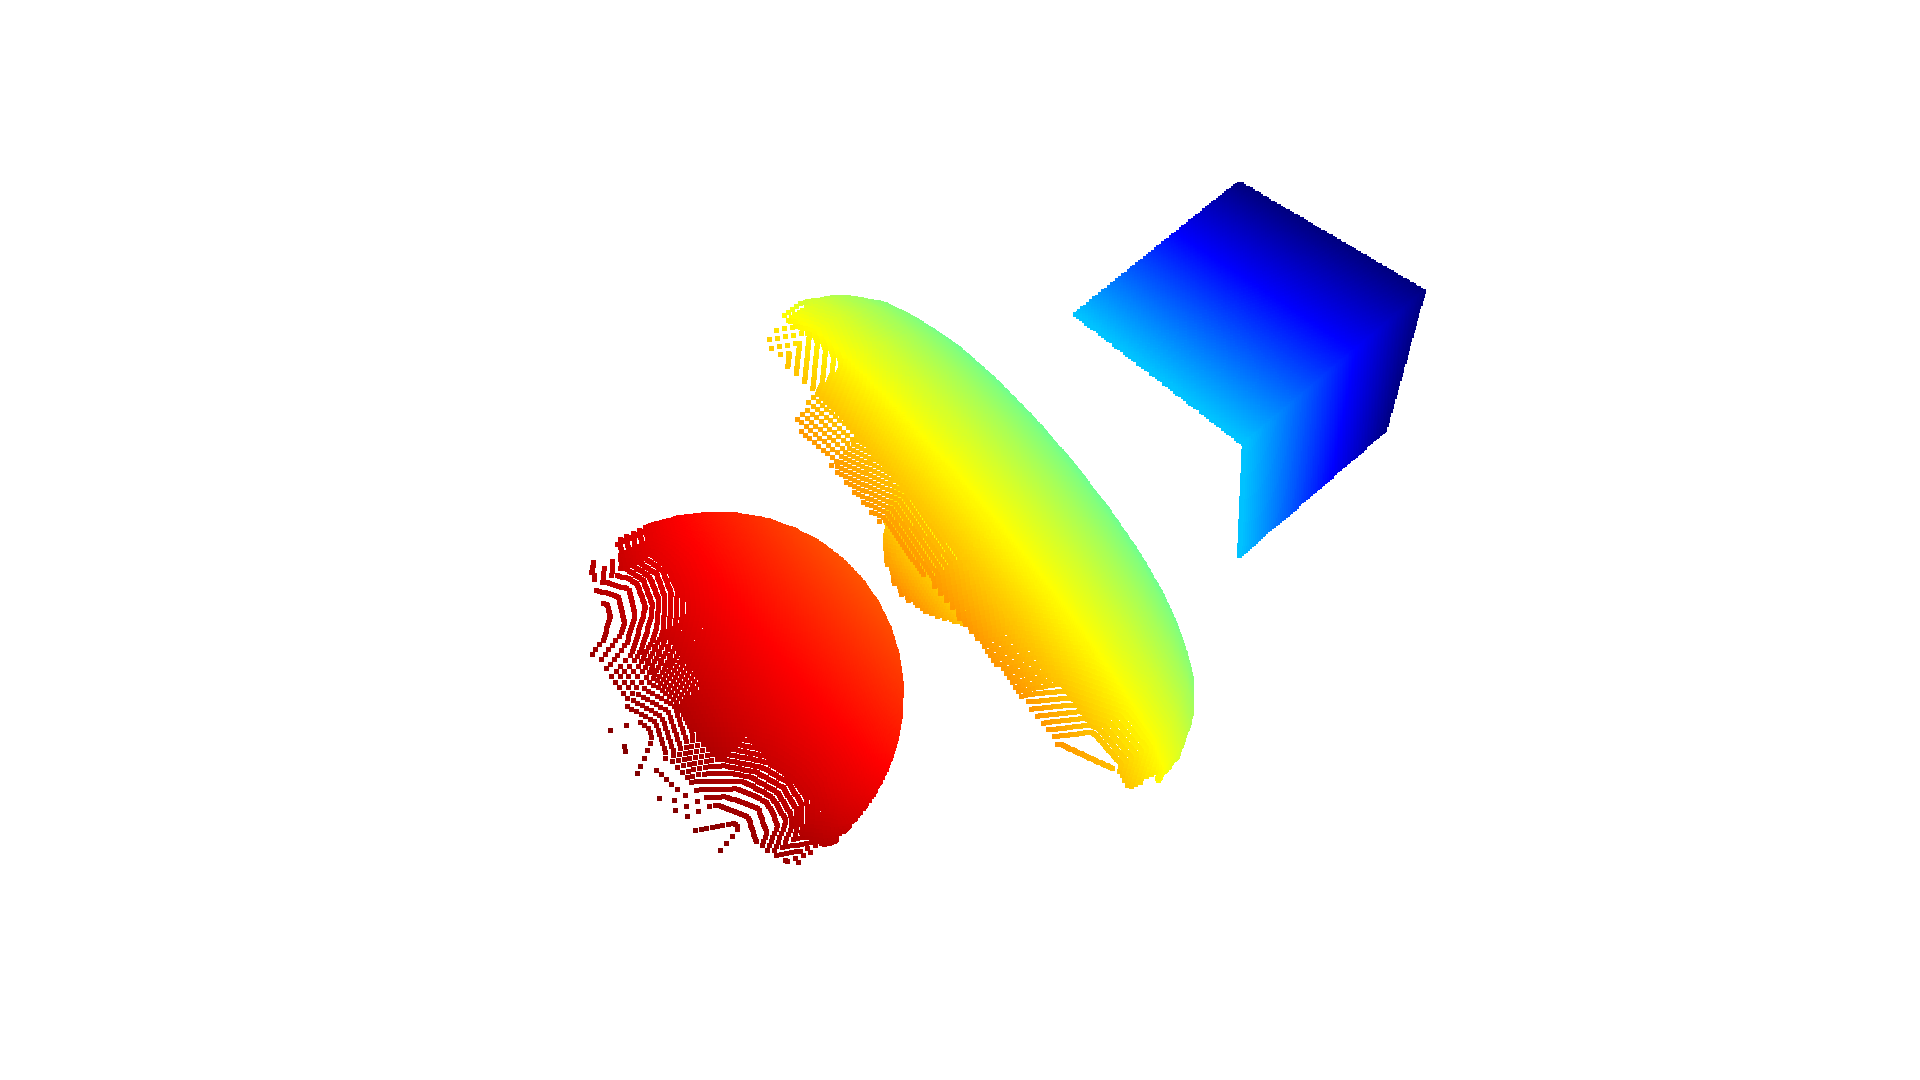
We can also use the hit distance to calculate the XYZ coordinates of the intersection points. These are the points that you would get by placing a virtual 3D sensor at the point of origin of the rays.
[13]:
hit = ans['t_hit'].isfinite()
points = rays[hit][:,:3] + rays[hit][:,3:]*ans['t_hit'][hit].reshape((-1,1))
pcd = o3d.t.geometry.PointCloud(points)
# Press Ctrl/Cmd-C in the visualization window to copy the current viewpoint
o3d.visualization.draw_geometries([pcd.to_legacy()],
                                  front=[0.5, 0.86, 0.125],
                                  lookat=[0.23, 0.5, 2],
                                  up=[-0.63, 0.45, -0.63],
                                  zoom=0.7)
# o3d.visualization.draw([pcd]) # new API
